Setting up a Tuya smart camera may seem like a difficult task, but with the right guidance, it’s easier than you think. In this comprehensive guide, we’ll walk you through the step-by-step process of setting up your Tuya smart camera, from unboxing to seamless integration into your smart home ecosystem. Whether you’re a tech novice or an experienced enthusiast, we’ve got you covered.
How to Set Up Tuya Smart Camera?
Follow these points
1. Understanding Tuya Smart Cameras
Tuya smart cameras are cutting-edge devices that offer advanced surveillance and remote monitoring capabilities.
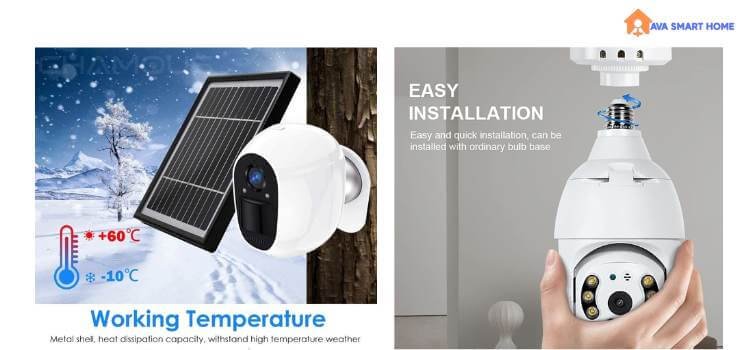
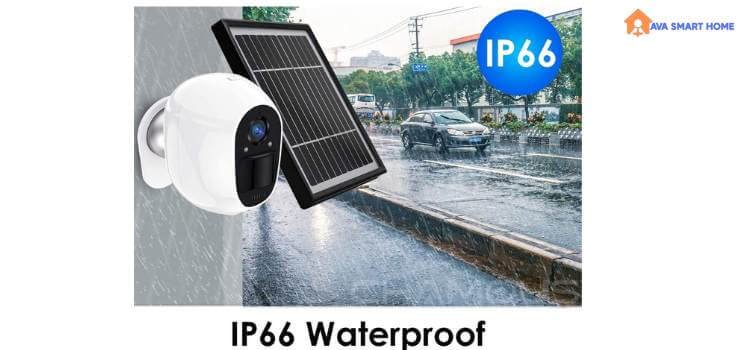
INQMEGA TUYA Security Camera Outdoor
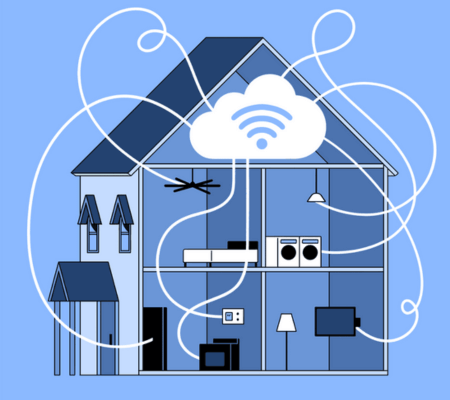
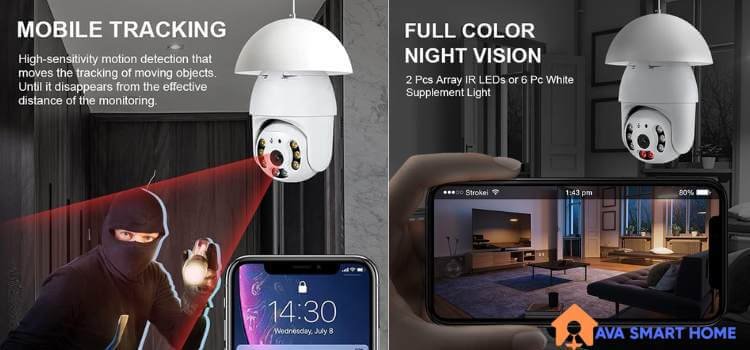
These cameras have features like high-definition video quality, two-way audio communication, motion detection, and even night vision. They seamlessly integrate into your smart home ecosystem, allowing you to monitor your property from anywhere, anytime.
2. Unboxing Your Tuya Smart Camera
When you unbox your Tuya smart camera, you’ll find the camera unit, a power adapter, a mounting bracket, screws, and an instruction manual. Carefully inspect each item to ensure they’re all present and undamaged before proceeding.
3. Choosing the Perfect Location
Selecting an optimal location for your smart camera is crucial. Consider areas with a wide field of view and minimal obstructions for the best coverage. Indoor cameras could be placed near entry points, while outdoor cameras should cover vulnerable areas like driveways and backyards.
4. Connecting to Power
Connect your smart camera to a power source using the provided power adapter. Ensure the camera receives a stable power supply to avoid interruptions in surveillance.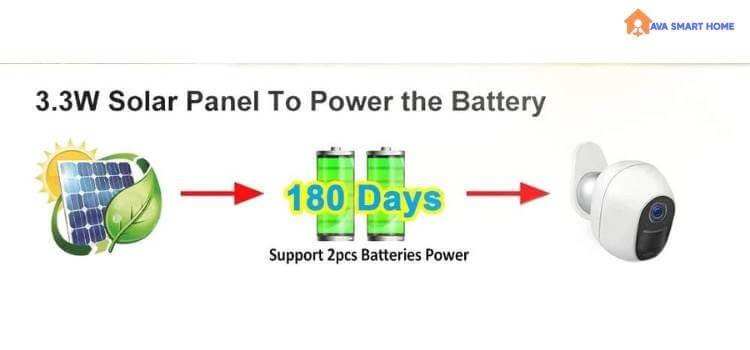
5. Connecting to Wi-Fi: How to Connect Tuya Smart Camera to Wifi
Press the camera’s reset button and follow the app’s instructions to connect your camera to your Wi-Fi network. Make sure your camera and smartphone are within close proximity during this process.
6. Installing the Tuya Smart App
Please search for the Tuya Smart App on your smartphone’s app store and install it. Create an account or log in if you already have one.
7. Adding Your Smart Camera to the App
Open the Tuya Smart App and click “Add Device.” Select “Camera” and follow the prompts to connect your camera. Make sure to grant the necessary permissions.
8. Camera Customization and Settings
Explore the app’s settings to customize your camera’s preferences. You can adjust motion sensitivity, set up alerts, and configure storage options, among other things.
9. Integrating with Other Smart Devices
Tuya smart cameras work seamlessly with other smart devices in your home. Link your camera with voice assistants like Amazon Alexa or Google Assistant for hands-free control.
10. Enhancing Security and Privacy
Protect your camera from unauthorized access by setting strong passwords and enabling two-factor authentication. Regularly update your camera’s firmware to ensure it has the latest security patches.
11. Troubleshooting Common Issues
Encountering connectivity or performance issues? Consult the user manual or visit the Tuya support website for troubleshooting tips and solutions.
12. Firmware Updates and Maintenance
Stay up-to-date with firmware updates to access new features and ensure optimal camera performance. Regular maintenance, such as lens cleaning, will extend the camera’s lifespan.
13. Exploring Advanced Features
Delve into advanced features like cloud storage, person detection, and geofencing to enhance your smart camera’s functionality and convenience.
14. Tuya Camera Tips and Tricks
- Use a strong Wi-Fi signal for reliable connectivity.
- Position cameras at a slight downward angle for better coverage.
- Schedule camera monitoring based on your routine.
- Regularly review footage to stay informed about events.
Conclusion
Congratulations! You’ve successfully set up your Tuya smart camera and taken the first step towards a more secure and connected home. Enjoy the peace of mind that comes with knowing you can monitor your property no matter where you are.
In this guide, we’ve covered everything from unboxing your camera to exploring its advanced features. By following these steps and implementing best practices for security and privacy, you can make the most of your Tuya smart camera’s capabilities. Remember, technology is here to simplify our lives, and with Tuya smart cameras, you’re embracing a safer and smarter way of living.
Quick Guide: How to Set up Tuya Smart Doorbell
Enhance your home security with the Tuya Smart Doorbell. Follow these simple steps for a seamless setup.
Setting Up Your Tuya Smart Doorbell
- Unboxing and Contents: Check all components are present and undamaged.
- Location: Choose a suitable spot near your front door with good Wi-Fi coverage.
- Mounting: Secure the mounting bracket with provided screws.
- Power: Connect to power using batteries or existing wiring.
- Wi-Fi: Pair the doorbell with your Wi-Fi network via the Tuya Smart App.
- App Installation: Download and install the Tuya Smart App.
- Adding Doorbell: Add the device in the app and follow the prompts for pairing.
- Customization: Adjust settings for motion detection and notifications.
- Testing: Test video streaming and communication features.
- Maintenance: Regularly clean the camera lens and check for updates.
- Security: Set a strong password and enable two-factor authentication.
- Integration: Sync with other smart devices for enhanced security.
- Tips: Place at eye level, schedule motion detection, and use cloud storage.
- Conclusion: Enjoy improved home security and convenience with your Tuya Smart Doorbell.
Experience the peace of mind and enhanced security that your smart doorbell brings to your home.

