


In today’s rapidly advancing digital age, security cameras have become crucial for protecting our homes and businesses. Therefore, “How to Run Security Camera Wires Outside” arises.
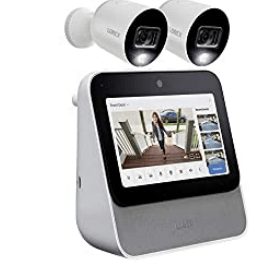
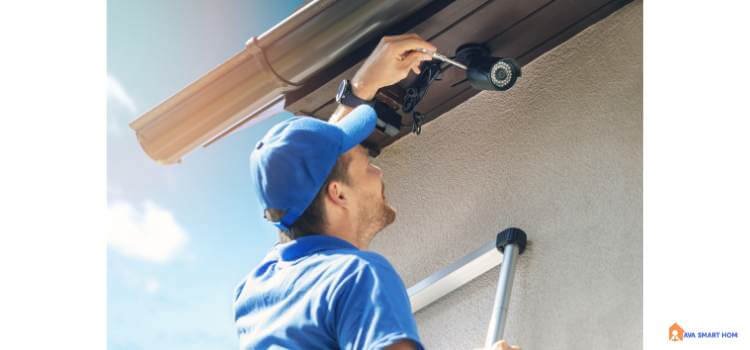
Outdoor security cameras are essential to any modern security system, providing homeowners with peace of mind and an added layer of protection. Properly wiring these cameras is crucial to ensure seamless functionality and optimal performance.
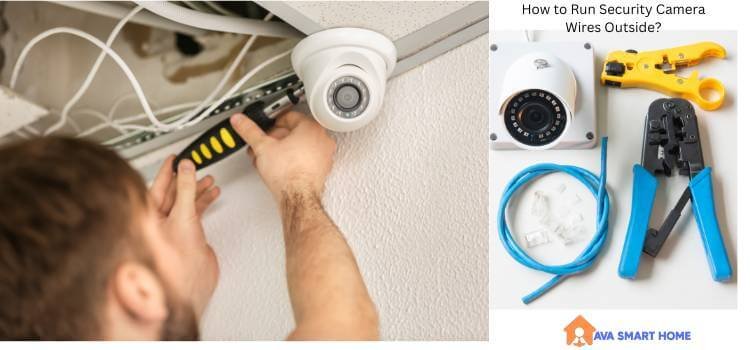
This guide will delve into the intricacies of running security camera wires outside, covering everything from planning and installation to weatherproofing and maintenance. Whether you’re a seasoned DIY enthusiast or a novice, this step-by-step guide will empower you to set up your outdoor security cameras confidently.
Check out: Top 5 Best Cheap Indoor Security Cameras Under $50
Understanding the Importance of Outdoor Security Camera Wiring
Wiring is the backbone of any security camera system, ensuring video footage and power supply transmission. Properly installed wiring enhances the reliability and effectiveness of your security cameras, providing you with a robust surveillance solution. You can seamlessly integrate your security cameras into your outdoor space with the right tools, materials, and techniques.
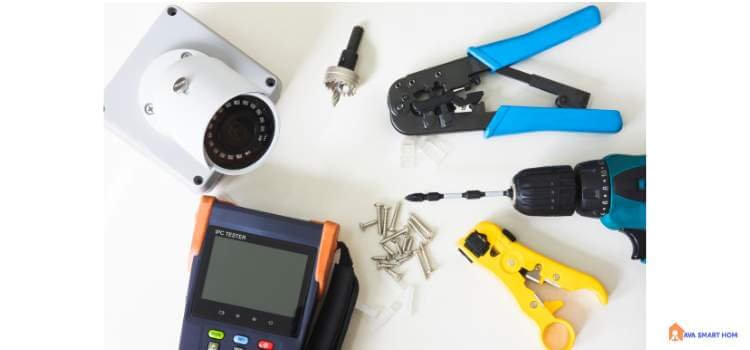
Essential Tools and Materials
Gather the necessary tools and materials before you embark on the installation process to ensure a smooth workflow. These may include a power drill, cable clips, conduit, fish tape, a ladder, and the appropriate security camera cable. A detailed list of tools and materials can be found in this comprehensive guide on wiring for security cameras.
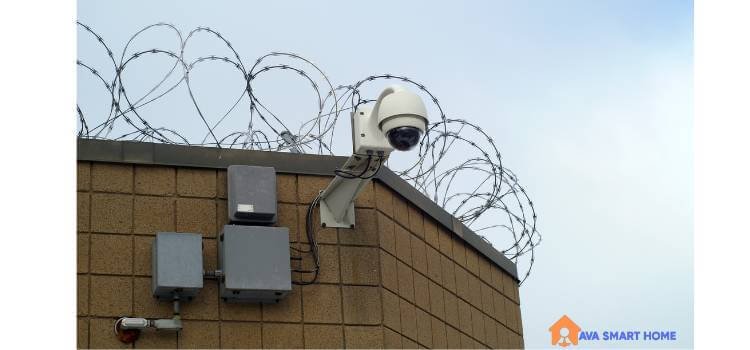
Planning the Camera Placement
Strategically positioning your security cameras is crucial for maximizing coverage and effectiveness. Identify key areas that require surveillance and ensure clear sightlines. Consider potential obstacles and determine the optimal camera angles. Thorough planning will streamline the installation process and help you avoid unnecessary challenges.
Choosing the Right Type of Security Camera Cable
Selecting the appropriate cable is essential for reliable data transmission and power supply. Different cables, such as coaxial or Ethernet cables, may be suitable for your specific setup. Refer to this resource on security camera wiring to understand the pros and cons of various cable options.
Preparing for Installation
Before you begin the installation, ensure you have a solid understanding of your property’s layout. Identify potential entry points for the wires and plan the route accordingly. This guide on running security camera wires offers valuable insights into the preparation phase.
Step-by-Step Guide to Running Security Camera Wires Outside
6.1. Finding the Best Route for Wires Determining the optimal route for your security camera wires is a critical step. Minimize exposure to potential hazards and use existing infrastructure, such as conduit pathways or cable channels.
6.2. Drilling Holes and Installing Conduits
Drill holes to run security camera wires from your chosen camera locations to the designated monitoring area. Installing conduits protects the wires from the elements and potential damage.
To install the security cameras, drill a hole in the designated spot and use a straightened metal coat hanger to check for any potential obstacles inside the wall.
6.3. Securing and Protecting the Wires
Use cable clips and anchors to secure the wires along their designated path. Ensure the wires are protected against environmental factors like rain, sun, and pests. For optimal performance of wireless security cameras, keeping the CCTV cables within a range of 250 feet is recommended.
There are two methods for installing security camera wiring: POE and wireless security camera wiring.
The necessary items for setting up security cameras include Cat 5/6 security camera wires, drill, fish tape, PoE injectors, wireless security cameras, electrical wires, drill, fish tape, security camera wire extension, RG-59 BNC connectors, RG-59 crimping tool, RG-59 stripping tool, RG-59/sys-75-5 coaxial wires, BNC barrel, wire cutter, standard wire crimp tool, and electrical tape. Before running cables, referring to the security camera wire diagram below may be helpful.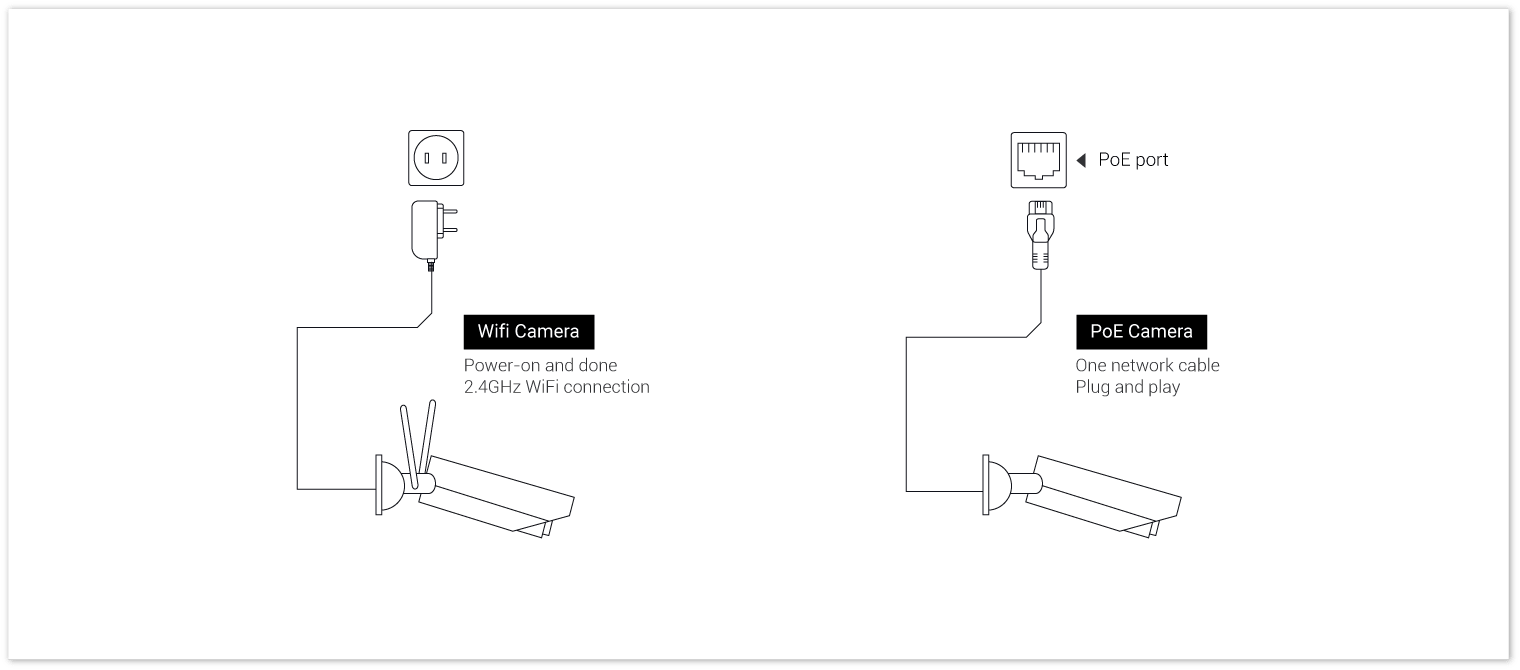
6.4. Connecting Wires to the Camera and Power Source
Follow the manufacturer’s guidelines to connect the wires to the cameras and power source. Proper connections ensure smooth data transmission and uninterrupted power supply.
RLC-822A Unboxing, Setup & Installation | Reolink 4K Smart Detection PoE Camera with 3X Optical Zoom
Weatherproofing and Maintenance
To prolong the lifespan of your security camera system, weatherproofing is essential. Apply weather-resistant sealants to entry points and connections to prevent moisture infiltration. Regular maintenance, such as cleaning camera lenses and checking cable integrity, ensures optimal performance over time.
Testing and Troubleshooting
Once the installation is complete, test the cameras and wiring to ensure proper functionality. Troubleshoot any issues following the troubleshooting tips outlined in this comprehensive guide.
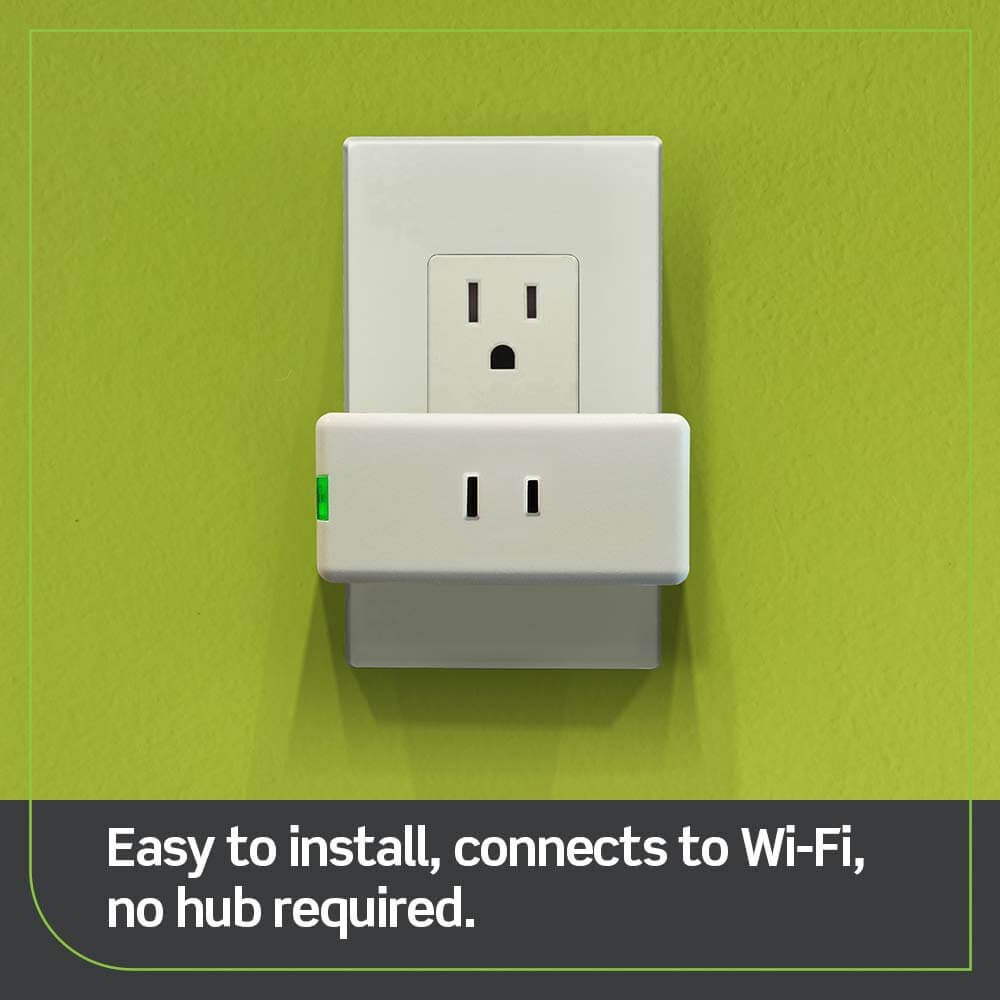
To install wireless security cameras, you must connect them to a waterproof and weatherproof power outlet. This is outlined in Step 4 of the instructions.
Some users on forums have posed questions about running cables for outdoor PoE security cameras or installing power wires for outdoor wireless security cameras.
To install outdoor wireless security cameras, it is necessary to drill holes for power cable installation.
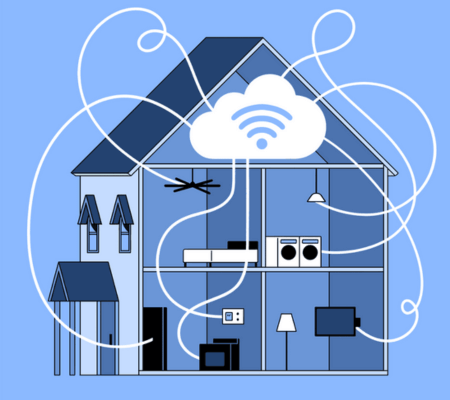
Wireless security cameras utilize WiFi signal for data transmission while also needing a cable for power supply.
Please refer to the provided setup guide for the complete installation procedure of wireless security cameras.
If the power outlet is not within proximity, you have the option to extend the power cable for your wireless security cameras.
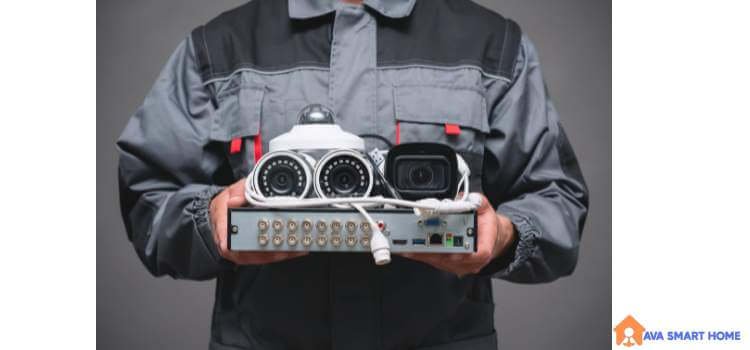
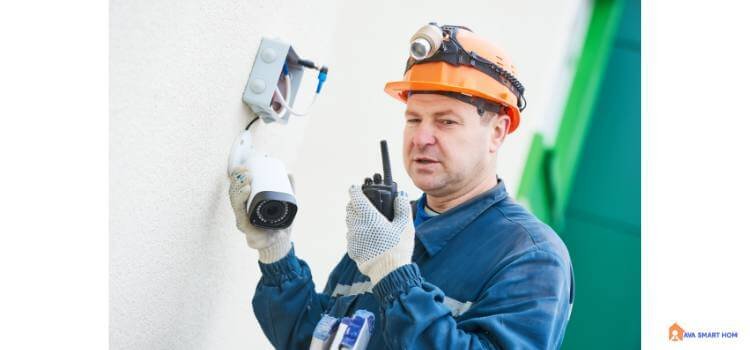
Advantages of Professional Installation
While DIY installation is a viable option, enlisting the expertise of professionals offers several benefits. Professionals possess the experience and knowledge to tackle complex installations, ensuring a seamless and efficient setup process.
Conclusion
Running security camera wires outside may seem daunting, but it becomes a manageable endeavour with careful planning and the right tools. Following this comprehensive guide, you can strategically position your cameras, route wires effectively, and ensure optimal performance. Remember, a well-installed security camera system enhances your home’s security and provides you with peace of mind.
For more detailed instructions and insights on wiring for security cameras, check out this informative guide: Wiring for Security Cameras.
Related FAQS
1. How to Protect Outdoor Security Camera Wires?
Outdoor security cameras play a vital role in safeguarding our property. However, protecting their wires from the elements is crucial for longevity and functionality.

- Choose the Right Wires: Opt for weather-resistant cables with durable insulation to prevent long-term degradation.
- Weatherproof Connections: Use waterproof connectors, heat shrink tubing, and sealants for secure and weather-resistant wire connections.
- Conceal and Secure: Hide wires creatively using clips, adhesive mounts, or conduit to maintain aesthetics and prevent damage.
- Elevate for Tamper Prevention: Mount cameras and wires at a height that deters tampering while expanding the camera’s field of view.
- Regular Maintenance: Promptly inspect, clean, and replace damaged wires to ensure continued protection.
- Advanced Protection with Conduits: Consider installing conduits for a long-term shield against elements and physical damage.
- Case Study: Coastal Environment: Explore a real-world example of wire protection solutions in a challenging coastal setting.
- DIY vs Professional Installation: Weigh the benefits of DIY setup against professional installation for optimal wire protection.
- Troubleshooting Common Issues: Learn to effectively troubleshoot signal loss, power problems, and camera malfunctions.
- Future Innovations: Stay updated on evolving technologies impacting outdoor camera wire protection.
Conclusion
By implementing these strategies, you ensure robust outdoor security camera wire protection, contributing to a safer environment for your property.
2. How to Hide Camera Wires Inside?
Clever Ways to Hide Camera Wires Indoors
Installing security cameras indoors is a smart move, but visible wires can be an eyesore. Learn how to discreetly hide camera wires for a clean and organized look.

- Cable Concealing Clips: Utilize specially designed clips to secure wires along baseboards or edges, keeping them hidden from plain sight.
- Cord Covers: Use cord covers that blend with your walls to camouflage camera wires, creating a seamless appearance.
- Paintable Cable Channels: Opt for paintable cable channels to match your wall color, effectively disguising camera wires in plain view.
- Furniture Placement: Strategically position furniture or decorative items to cover camera wires while maintaining a functional and aesthetic setup.
- Wall-Mounted Shelves: Install wall-mounted shelves to both hide camera wires and provide elegant display space.
- Cable Raceways: Explore cable raceways that fit neatly in corners or edges, keeping camera wires out of sight and organized.
- Behind Wall Art: Hang paintings, photographs, or decorative panels over camera wires, blending technology seamlessly with your décor.
- Recessed Cable Outlets: Opt for recessed outlets that allow camera wires to be hidden behind the wall, offering a clean and minimalist look.
- Hollow Curtain Rods: Thread camera wires through hollow curtain rods, effectively hiding them behind curtains or drapes.
- Baseboard Routing: Create discreet wire paths along the baseboard, tucking camera wires away from view and preventing tripping hazards.
Conclusion
With these ingenious methods, you can easily hide camera wires indoors, maintaining a clutter-free and visually appealing living space while ensuring the security you need.
3. How to Safely Run Security Camera Wires in Attic?
Running security camera wires in your attic is a smart way to keep them hidden while maintaining effective surveillance. Learn the step-by-step process to ensure a neat and secure installation.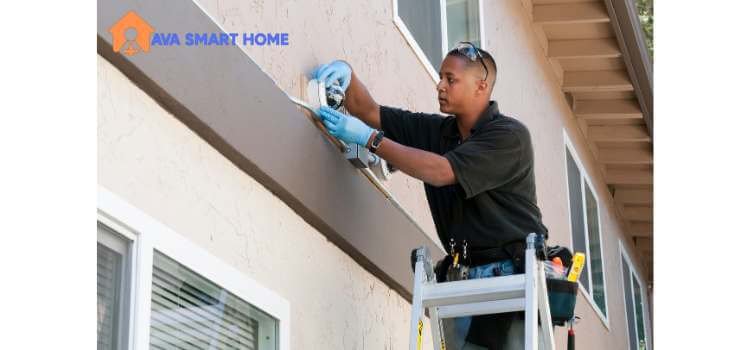
- Plan Your Route: Determine the best path for the wires from the cameras to the recording or monitoring location in your attic.
- Gather Necessary Tools and Supplies: Equip yourself with tools such as a drill, fish tape, cable clips, and wire strippers. Ensure you have the right length of cable for your setup.
- Safety First: Before entering the attic, wear appropriate clothing, gloves, and safety goggles. Ensure proper lighting and stable footing.
- Locate Access Points: Identify suitable access points in the attic where you can easily route the wires from the cameras.
- Drill Holes: Carefully drill holes in the attic wall or ceiling to create entry points for the camera wires. Make sure the holes are large enough to accommodate the cables.
- Run the Wires: Use fish tape to guide the camera wires through the drilled holes and along the planned route in the attic. Avoid bending the wires excessively to prevent damage.
- Secure the Wires: Use cable clips or fasteners to secure the wires along beams or joists, keeping them organized and preventing tangling.
- Avoid HVAC and Electrical: Be cautious of any existing HVAC ducts, electrical wiring, or other potential obstacles in the attic. Keep the camera wires away from these hazards.
- Maintain Proper Slack: Leave some slack in the wires near the cameras and the recording location to allow for adjustments and future maintenance.
- Seal Entry Points: After running the wires, seal the entry points with caulk or sealant to prevent drafts and keep pests out.
- Test and Adjust: Connect the camera wires to the appropriate devices and test the system to ensure everything is working correctly. Make any necessary adjustments.
- Insulation and Protection: If your attic is insulated, ensure that the camera wires are properly protected by running them through a conduit or using insulation-friendly clips.
Conclusion
By following these steps, you can effectively run security camera wires in your attic, maintaining a clean and discreet installation while ensuring reliable surveillance of your property. Remember to prioritize safety and proper organization throughout the process.
4. How to Run Security Camera Wires Without Attic?
Running Security Camera Wires Without an Attic: A Step-by-Step Guide
Introduction: Not all homes have attics, but that shouldn’t stop you from installing security cameras. Learn how to run camera wires effectively without the need for an attic space.
- Choose the Right Route: Identify the best route for your camera wires, considering factors such as convenience, accessibility, and concealment.
- Plan Wire Paths: Determine the path the wires will follow from the cameras to the recording or monitoring location. Choose inconspicuous areas to keep wires hidden.
- Gather Tools and Supplies: Equip yourself with essential tools like a drill, fish tape, cable clips, wire strippers, and a stud finder. Purchase cables of the appropriate length.
- Locate Wall Cavities: Use a stud finder to locate wall cavities where you can run the camera wires. Choose areas with minimal obstructions.
- Measure and Mark: Measure the distance between camera and recording locations accurately. Mark the spots where you’ll need to drill holes for wire entry and exit.
- Drill Holes: Carefully drill holes in the wall at the marked entry and exit points. Ensure the holes are large enough for the cables to pass through.
- Fish the Wires: Use fish tape to guide the camera wires through the drilled holes. Gently maneuver the fish tape to avoid damaging the walls.
- Secure the Wires: As you pull the wires through, use cable clips or adhesive mounts to secure them along the wall’s interior. This prevents dangling and tangling.
- Concealment Options: Camouflage wires by routing them behind furniture, curtains, or decorative panels. Paintable cable covers can help blend wires into the wall.
- Trim and Organize: Trim any excess cable length and organize the wires neatly, ensuring a tidy appearance.
- Test the Connection: Connect the camera wires to the appropriate devices and ensure the system functions correctly before finalizing wire placement.
- Weatherproofing (for Outdoor Cameras): If installing outdoor cameras, use a weatherproof conduit to protect wires from the elements. Secure the conduit along walls or fences.
Conclusion
Running security camera wires without an attic is entirely feasible with careful planning and execution. By following these steps, you can achieve a discreet and functional camera setup, enhancing the security of your property without the need for attic access.
Read also about the Top 10 Best Indoor Security Cameras for Home in 2023
FAQs: Running Cable for Security Cameras
1. What is the best way to run cable for security cameras?
The best way to run cable for security cameras depends on your specific circumstances, but here are some general guidelines:
- Concealment: Whenever possible, run cables inside walls, ceilings, or conduits to keep them hidden and protected from the elements.
- Use Cable Clips: Secure cables to the wall or other surfaces using cable clips or adhesive cable management clips. This helps to keep them organized and out of sight.
- Avoid Obstacles: Plan your cable routes carefully to avoid obstacles and interference. Avoid running cables near power lines or other sources of electrical interference.
- Protect Outdoor Cables: If running cables outdoors, use outdoor-rated cables and conduit to protect them from weather conditions and potential damage.
- Consider Wireless Options: If possible, opt for wireless security cameras to eliminate the need for running cables altogether.
2. What kind of wire should I run for security cameras?
The type of wire you should use for security cameras depends on your specific needs and camera type. Generally, you have two main options:
- Coaxial Cable (RG59/RG6): Coaxial cables are commonly used for analog cameras. RG59 is suitable for shorter cable runs, while RG6 is better for longer distances.
- Ethernet Cable (Cat 5e/Cat 6): Ethernet cables are used for IP cameras, which are more common today. Cat 5e or Cat 6 cables can transmit data and power (Power over Ethernet or PoE) to the cameras.
Choose the cable type that matches your camera’s compatibility and the distance you need to cover.
3. How long can you run the security camera wire?
The maximum cable length for security cameras depends on the type of cable and the camera’s technology:
- Coaxial Cable (RG59/RG6): For analog cameras using coaxial cables, the maximum cable length is typically up to 1,000 feet (305 meters) without signal loss for RG6, but this may vary depending on the camera and equipment used.
- Ethernet Cable (Cat 5e/Cat 6): IP cameras using Ethernet cables can typically reach distances of up to 328 feet (100 meters) when using standard Ethernet. You can extend this range with PoE extenders or switches.
Keep in mind that using high-quality cables and minimizing interference can help maintain signal integrity over longer distances.