


Installing a Vivitar smart security camera requires you to know some basic knowledge about installing a camera.
If you want, you can open the Play Store. The search bar should be at the top of the screen. Click the app from the list if you want to type in “Vivitar smart home security”. If you want to use it, tap install then open it.
Boost Your Security with the Vivitar Smart Security Camera
In an increasingly digital world, security is paramount. Vivitar Smart Security Camera with AI technology offers a robust solution to safeguard your home and loved ones. In this comprehensive guide, we’ll delve into the world of Vivitar Smart Security Cameras, explore their benefits, and walk you through the process of installation. By the end of this article, you’ll be ready to bolster your home security effortlessly.
What Is Vivitar Smart Security Camera?
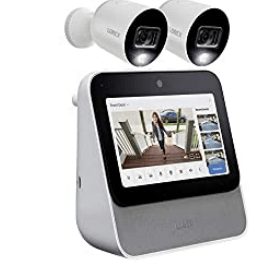
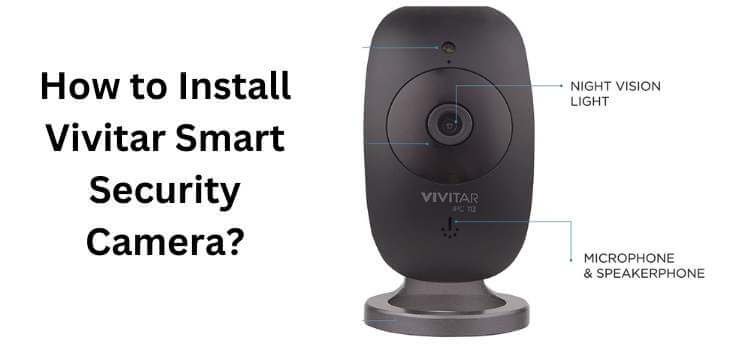
The Vivitar Smart Security Camera is a state-of-the-art home security device equipped with advanced features and technology. It serves as your vigilant eye, capturing high-resolution footage of your surroundings, day and night. Here’s what sets it apart:
- Advanced AI Technology: This camera uses artificial intelligence to detect motion, recognize faces, and provide accurate alerts, reducing false alarms.
- Remote Monitoring: With the Vivitar app, you can access live footage and receive real-time notifications on your smartphone, ensuring you’re always aware of what’s happening at home.
- Night Vision: Equipped with infrared LEDs, it offers clear night vision, ensuring you don’t miss any activity in the dark.
- Two-Way Communication: Communicate with visitors or potential intruders through the built-in speaker and microphone.

Benefits of Installing Vivitar Smart Security Camera
Installing a Vivitar Smart Security Camera offers several key advantages:
- Enhanced Security: Keep a watchful eye on your property and loved ones 24/7.
- AI-Powered Detection: The camera’s AI technology can differentiate between humans and pets, reducing false alarms.
- Remote Monitoring: Access live footage and receive alerts on your mobile device from anywhere.
- Night Vision: Capture clear video even in low-light conditions.
- Two-Way Communication: Communicate with visitors or potential intruders through the built-in speaker and microphone.
Preparing to Install Vivitar Smart Security Camera
Before you start the installation process, make sure to follow these steps:
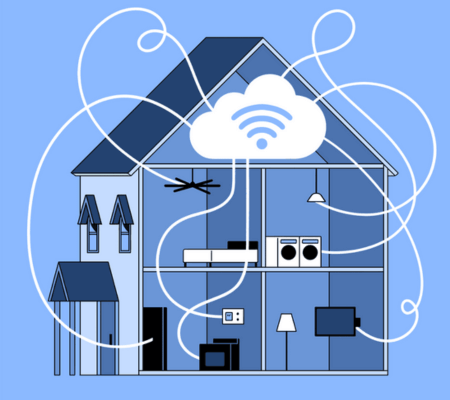
- Checking Wi-Fi Connection and Network Settings: Ensure a stable Wi-Fi connection for seamless camera operation.
- Gathering Necessary Equipment and Supplies: Gather all the required equipment, including the camera, power adapter, USB cable, and memory card.
- Selecting Appropriate Location for Camera Installation: Choose an optimal location that provides a wide view of the area you want to monitor.
- Familiarizing Yourself with Screen Instructions: Review the user manual and screen instructions that come with the camera for a smooth setup process.
Familiarizing Yourself with Screen Instructions
Before diving into the installation process, it’s crucial to familiarize yourself with the screen instructions provided with your Vivitar Smart Security Camera. These instructions will guide you through the setup and configuration process, ensuring a seamless installation.
Here are some key points to keep in mind:
- Read the Manual: Start by reading the user manual thoroughly. It contains valuable information about the camera’s features and settings.
- On-Screen Prompts: Pay close attention to any on-screen prompts or instructions that appear during the setup process. These prompts will guide you through essential configuration steps.
Setting Up Vivitar Smart Security Camera
Once you’re comfortable with the screen instructions, it’s time to set up your Vivitar Smart Security Camera. Follow these steps:
Connecting the Camera to a Computer or Mobile Device with USB Cable:
Begin by connecting your camera to a computer or mobile device using the provided USB cable. This connection is essential for configuring the camera’s settings.
Inserting Memory Card into the Vivitar Camera
Insert a memory card into your Vivitar Smart Security Camera. The memory card will store recorded footage and images. Make sure to use a compatible memory card and follow the camera’s instructions for proper insertion.
Establishing a Successful Wi-Fi Connection for the Vivitar Camera
Now, let’s dive into the process of connecting your camera to your Wi-Fi network:
- Accessing Nearby Wi-Fi Networks and Entering Wi-Fi Credentials: Your camera will scan for nearby Wi-Fi networks. Select your home network from the list and enter your Wi-Fi credentials, including the SSID and password. This step is crucial for enabling remote access and notifications.
- Analyzing the Strength of Your Wi-Fi Signal: Ensure that your camera receives a strong and stable Wi-Fi signal. A strong signal is essential for maintaining a reliable connection and ensuring that your camera operates smoothly.
Adjusting the Camera’s Wi-Fi Capabilities or Wireless Connectivity Option
Your Vivitar Smart Security Camera may offer various Wi-Fi capabilities or wireless connectivity options. Depending on your preferences and network requirements, you can adjust these settings. Here’s how:
- Wi-Fi Frequency: Some cameras allow you to choose between 2.4GHz and 5GHz Wi-Fi bands. Select the appropriate frequency based on your network setup.
- Wi-Fi Security: Ensure that your camera is configured with strong Wi-Fi security protocols, such as WPA2-PSK (AES). This helps protect your camera and network from unauthorized access.
Accessing Nearby Wi-Fi Networks and Entering Wi-Fi Credentials
Continuing from the previous steps, follow these guidelines:
- Accessing Nearby Wi-Fi Networks: Your camera will scan for nearby Wi-Fi networks. Choose your home network from the list of available networks.
- Entering Wi-Fi Credentials: Input your Wi-Fi credentials, including the SSID (network name) and password. Double-check the accuracy of the information to avoid connectivity issues.
Analyzing the Strength of Your Wi-Fi Signal
Ensuring a strong Wi-Fi signal is essential for the reliable operation of your Vivitar Smart Security Camera. Follow these tips to analyze and improve your signal strength:
- Placement: Ensure the camera is placed within a reasonable distance from your Wi-Fi router. Thick walls and obstacles can weaken the signal, so choose an optimal location.
- Signal Boosters: If needed, consider using Wi-Fi signal boosters or extenders to increase coverage in areas where the camera is installed.
- Channel Selection: Use your router’s settings to select the best Wi-Fi channel. This can reduce interference and improve signal strength.
Securing the Vivitar Smart Security System Security is paramount when it comes to your smart security system. Follow these steps to enhance the security of your Vivitar Smart Security Camera:
- Change Default Passwords: Immediately change any default passwords for your camera and related apps. Use strong, unique passwords that are hard to guess.
- Firmware Updates: Regularly check for firmware updates for your camera and install them promptly. Updated firmware often includes security enhancements.
- Network Security: Ensure your home Wi-Fi network is secure by regularly updating your router’s firmware, enabling WPA2 or WPA3 encryption, and setting up a strong network password.
- Enable Two-Factor Authentication (2FA): If your camera and associated apps support 2FA, enable this feature for an extra layer of security.
With these final steps completed, your Vivitar Smart Security Camera is ready to provide you with top-notch security and peace of mind. You can now enjoy the benefits of remote monitoring, motion detection, and AI-powered security features, all while knowing that your system is secure from potential threats.
Conclusion: Congratulations on successfully installing your Vivitar Smart Security Camera. With its advanced technology, remote monitoring capabilities, and robust security measures, you can now enjoy enhanced protection for your home and loved ones. For ongoing security and performance, remember to periodically review and update your camera’s settings and firmware. Your peace of mind is just a glance away.
Conclusion
Investing in a Vivitar Smart Security Camera is a proactive step towards fortifying your home’s security. With its advanced AI capabilities and user-friendly installation process, you can enjoy the benefits of round-the-clock surveillance, remote monitoring, and real-time alerts. Don’t wait to bolster your home security; get started with the Vivitar Smart Security Camera today!
Install Vivitar Smart Security Camera for a safer and more secure home.
You can learn more in Vivitar Smart Security Camera Review.
You can easily view your home or office using the camera’s live view feature. You can also record up to 30 days of footage on the camera’s internal memory. You can use the camera to send an alert to your smartphone if you need to be alerted of any unusual activity.
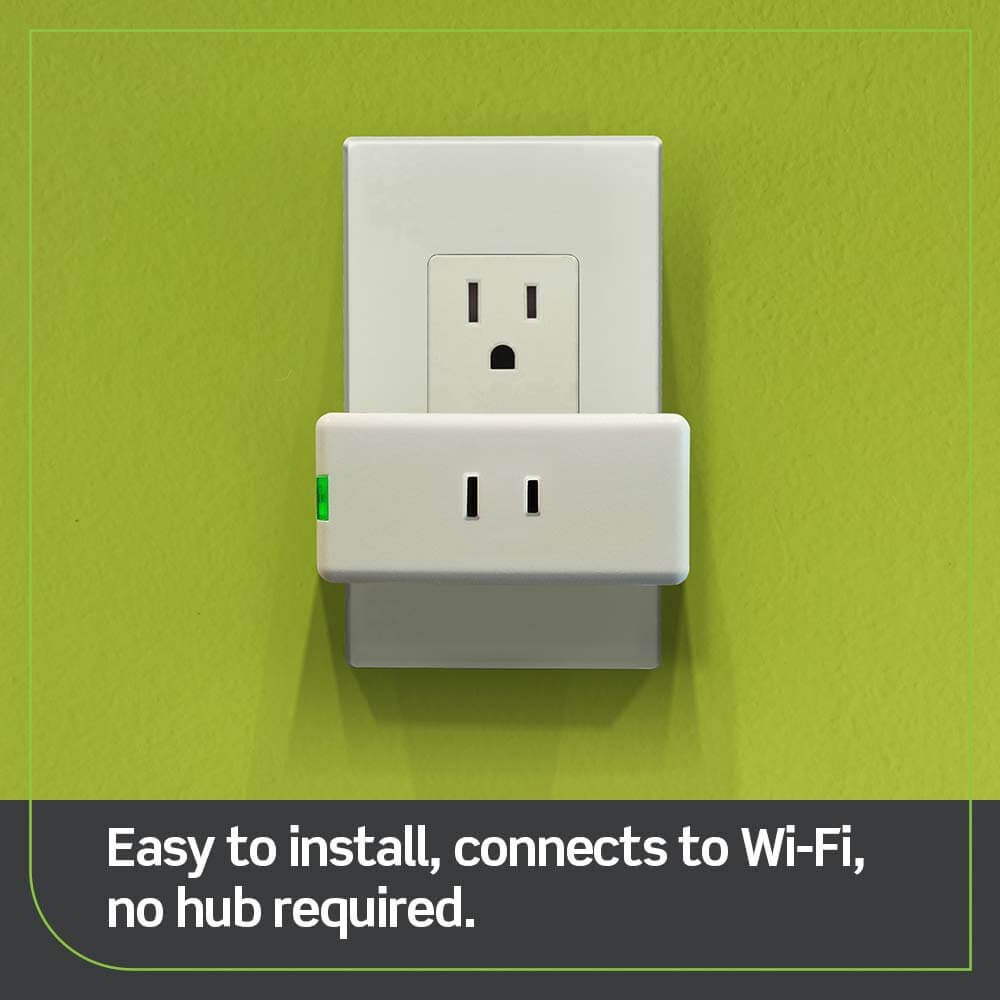
The Vivitar Smart Security Camera is easy to set up. All you have to do is plug it into a power outlet, connect the camera to the router using an Ethernet cable, and then download the free Vivitar app to your phone.