


Installing security cameras on a brick wall might seem like a daunting task, but with the right approach and tools, it can be a manageable DIY project. Whether you’re looking to enhance the safety of your home or business, this guide will walk you through the step-by-step process of installing security cameras on a brick wall.
We’ll cover everything from planning and preparation to mounting and wiring, ensuring that your security cameras are optimally positioned to provide maximum surveillance coverage.
Read also: Top 5 Best Home Security Systems with Outdoor Cameras
Table of Contents
ToggleHow to Install Security Cameras on a Brick Wall
1. Assessing Your Surveillance Needs
Before you dive into the installation process, it’s crucial to determine your surveillance requirements. Consider the areas you want to monitor, such as entry points, driveways, and outdoor spaces. This will help you choose the right type and number of security cameras for your setup.
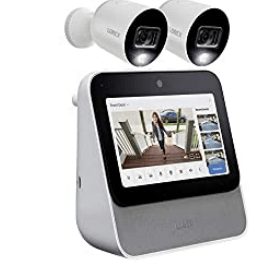
2. Choosing the Right Security Cameras
Selecting the appropriate security cameras is pivotal for effective surveillance. Opt for cameras with features like high-resolution video quality, night vision, and motion detection. Weatherproof and vandal-resistant cameras are particularly suitable for outdoor installations on brick walls.
3. Gathering the Necessary Tools and Materials
To ensure a smooth installation process, gather the following tools and materials:
- Security cameras
- Mounting brackets
- Power drill with masonry bits
- Screwdriver set
- Anchors and screws suitable for brick
- Spirit level
- Extension cables (if needed)
- A power source (battery or electrical)
4. Planning Camera Placement
Identify strategic locations for camera placement to cover vulnerable areas. Aim to position cameras at entrances, blind spots, and high-traffic areas. A mix of wide-angle and focused cameras will provide comprehensive coverage.
5. Preparing the Brick Wall
Carefully measure and mark the positions for mounting brackets. Use a spirit level to ensure accurate placement. Using a power drill with masonry bits, drill holes for the anchors. Insert anchors into the holes, providing a secure foundation for the screws.
6. Mounting the Cameras
Attach the mounting brackets to the wall using the screws and anchors. Ensure they are firmly in place to support the weight of the cameras. Follow the manufacturer’s guidelines for proper installation.
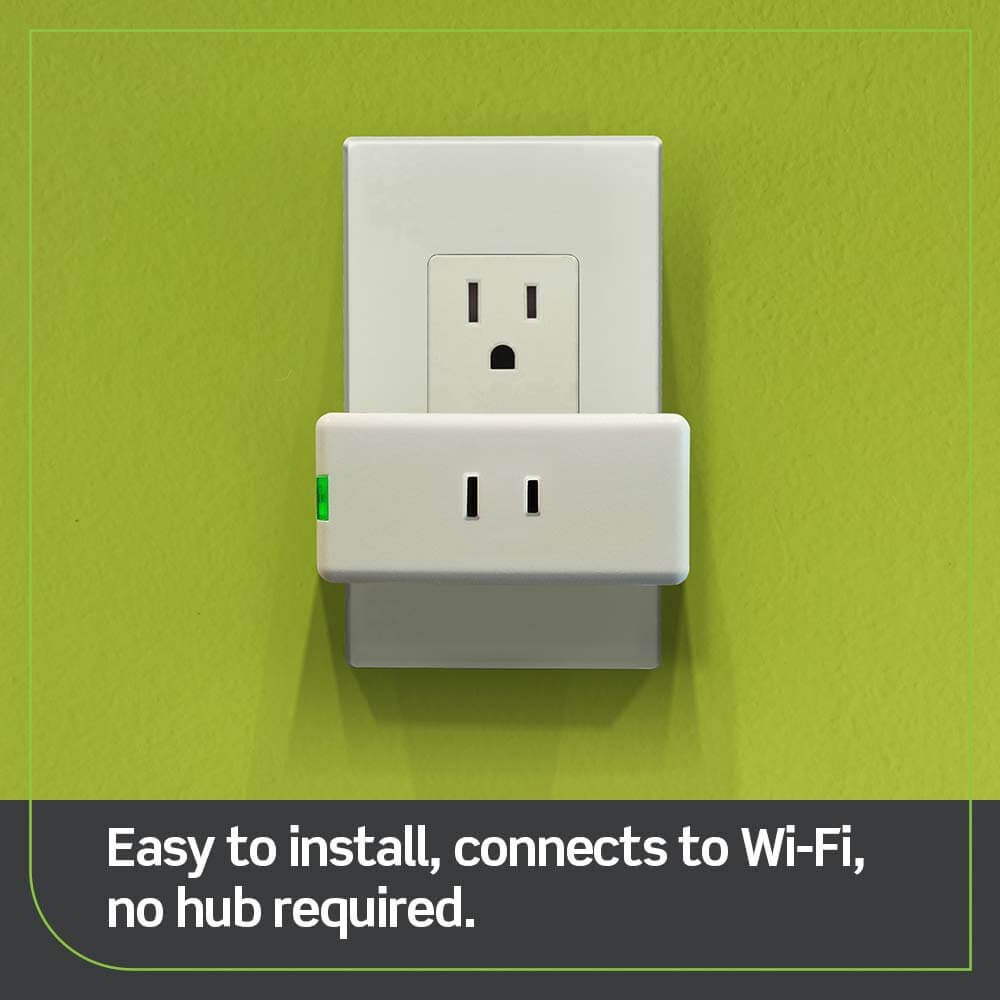
7. Connecting the Cameras
Depending on your camera type, connect them to a power source. For wired cameras, carefully route the cables to minimize exposure and vulnerability. Use extension cables if necessary, ensuring they’re weatherproof for outdoor installations.
8. Adjusting Camera Angles
Fine-tune the camera angles to cover the desired areas. Test the camera’s view by monitoring the video feed on a connected device. Make adjustments as needed to optimize coverage.
9. Securing and Protecting Cables
Use cable clips or adhesive clips to secure and protect cables along the wall’s surface. This step ensures the cables remain hidden and are less prone to damage from weather or tampering.
10. Testing the System
After installation, thoroughly test each camera to ensure they are capturing clear footage and functioning as intended. Adjust settings such as motion sensitivity and night vision to meet your specific needs.
11. Setting Up Monitoring and Alerts
Configure your security camera system to send alerts to your smartphone or computer when motion is detected. Familiarize yourself with the monitoring software and make necessary adjustments.
12. Regular Maintenance
To keep your security cameras operating optimally, perform routine maintenance checks. Clean the lenses, inspect cables for wear, and ensure all components are securely fastened.
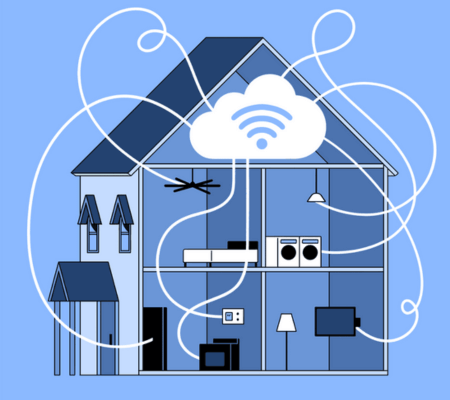
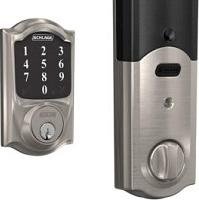
13. Integrating with Other Security Measures
Consider integrating your security camera system with other security measures such as alarms, smart locks, and intercom systems for comprehensive protection.
14. Staying Informed about Updates
Stay up-to-date with firmware updates and advancements in security camera technology. Regular updates can enhance the performance and features of your system.
Conclusion: How to Install Security Cameras on a Brick Wall
Installing security cameras on a brick wall may seem challenging, but with careful planning and the right tools, it’s an achievable task that can significantly enhance your property’s security. By following this comprehensive guide, you’ll be able to install and set up your security cameras effectively, ensuring peace of mind and improved surveillance coverage.
Remember, the proper installation of security cameras can play a vital role in deterring potential threats and providing valuable evidence in case of any incidents. Take your time, follow the steps outlined in this guide, and enjoy the increased security and peace of mind that a well-installed security camera system can provide.
Read Out: Top 5 Best NVR Camera Systems for Outdoor
The best NVR camera system for home is a combination of the best features that will allow you to capture high quality, crystal clear images and a compact design that fits into your home.
Installing a Camera on Brick Without Drilling: Simple Methods
Installing a camera on a brick wall without drilling might seem challenging, but there are alternative methods that can help you achieve this while preserving the integrity of your brickwork.
1. Adhesive Mounting Strips
Adhesive mounting strips are a reliable option for attaching lightweight cameras to brick walls. Follow these steps:
- Clean the brick surface to ensure proper adhesion.
- Apply the adhesive strips to the back of the camera mount.
- Press the camera mount firmly onto the brick, holding it for the recommended time to ensure a strong bond.
Keep in mind that adhesive strips might not be suitable for heavy or large cameras, as they may not provide enough support.
2. Brick Clips
Brick clips are specially designed clips that latch onto the edges of bricks. Here’s how to use them:
- Select a sturdy brick with a suitable edge to attach the clip.
- Gently slide the clip over the brick’s edge, ensuring a snug fit.
- Hang your camera mount or hook it onto the clip.
Brick clips are great for lightweight cameras, but they may not support heavier or bulkier models.
3. Magnetic Mounts
If your camera has a magnetic base, you can use this feature to attach it to a metal surface on the brick wall. Here’s what to do:
- Find a metal surface on the brick, such as a metal doorframe or window frame.
- Place the magnetic base of the camera against the metal surface, allowing the magnetism to hold it in place.
Magnetic mounts are convenient for easy installation and removal, but ensure your camera is securely attached.
4. Suction Cups
For temporary camera installations, suction cups can work well on smooth brick surfaces. Follow these steps:
- Moisten the suction cup slightly.
- Press the suction cup firmly against the brick wall, creating a seal.
- Attach your camera mount to the suction cup.
Suction cups are ideal for lightweight cameras and temporary setups, but they might not be suitable for long-term installations.
5. Picture Hanging Strips
Picture hanging strips are another option to consider:
- Apply the strips to both the back of the camera mount and the brick surface.
- Press the camera mount onto the brick, ensuring a strong connection.
Picture hanging strips are suitable for lightweight cameras and can be removed without causing damage to the brick.
6. Clamp Mounts
Clamp mounts can be used if you have a suitable structure near the brick wall:
- Identify a sturdy structure, such as a railing or pipe, adjacent to the brick wall.
- Use the clamp to secure your camera mount to the structure.
Clamp mounts provide flexibility in camera placement but require an existing nearby structure to attach to.
Finally
Mounting a camera on a brick wall without drilling is achievable through these alternative methods. Depending on your camera’s weight and design, you can choose the most suitable technique.
Remember to ensure proper adhesion, choose the right attachment method, and periodically check the camera’s stability. By following these methods, you can enjoy the benefits of a securely mounted camera while preserving the appearance of your brick wall.
Best Adhesive for Security Camera
When it comes to attaching security cameras without drilling, picking the right adhesive is key. The adhesive needs to be sturdy, weather-resistant, and compatible with various surfaces. Here’s a quick rundown of some excellent adhesive options for securing your security camera:
1. Heavy-Duty Double-Sided Tape
Reliable and versatile, this tape is great for outdoor use and offers strong adhesion.
2. Industrial Velcro Strips
Reusable and secure, these strips are perfect for lightweight to moderately heavy cameras.
3. Outdoor Mounting Tape
Designed for outdoor applications, this tape provides a weather-resistant and strong bond.
4. Epoxy Putty
Moldable and durable, epoxy putty suits heavier cameras and withstands outdoor conditions.
5. Silicone Adhesive
Flexible and weather-resistant, silicone adhesive forms a waterproof seal on different surfaces.
6. Construction Adhesive
For permanent setups, heavy-duty construction adhesive offers a strong bond but can be challenging to remove.
Conclusion
Choosing the right adhesive depends on your camera’s weight, mounting surface, and desired permanence. Always prep surfaces before applying adhesive for the best results. With the proper adhesive, you’ll have your security camera securely in place for enhanced safety and surveillance.
Installing Nest Outdoor Camera on Brick
Mounting a Nest Outdoor Camera on a brick surface is simpler than it seems. This concise guide outlines the steps to set up your camera for effective surveillance.
1. Prepare Tools
Gather tools and materials, including the camera, mounting bracket, drill, anchors, screws, and cables.
2. Choose Spot
Select a strategic location on the brick wall, considering the camera’s coverage area.
3. Attach Bracket
Follow the instructions to fix the bracket onto the wall with anchors and screws.
4. Mount Camera
Attach the camera to the bracket securely.
5. Manage Cables
Route the cable neatly along the wall’s surface to an outlet if needed.
6. Adjust Angle
Fine-tune the camera’s angle using the Nest app for optimal coverage.
7. Test and Monitor
Ensure the camera works well, and set up alerts through the app.
8. Maintain
Regularly check the camera and cable for maintenance.
Conclusion
In a few simple steps, your Nest Outdoor Camera will be securely mounted on a brick wall, enhancing your property’s surveillance.
Also Read: Google Nest Camera Reviews- Best Use for Indoor or Outdoor
Easy Way to Install Blink Doorbell on Brick Without Drilling
Mounting a Blink Doorbell on brick without drilling is possible and straightforward. This concise guide outlines the steps to securely install your doorbell without any drilling.
1. Materials You’ll Need
- Blink Doorbell
- Mounting bracket or adhesive strip
- Spirit level
- Outdoor-compatible adhesive
- Cleaning supplies
2. Choose Spot and Clean
Pick a smooth brick surface for your doorbell and clean it thoroughly for better adhesion.
3. Attach Bracket or Adhesive Strip
Use an outdoor-compatible mounting bracket or adhesive strip to affix to the brick surface.
4. Position Blink Doorbell
Place your Blink Doorbell onto the bracket or strip, ensuring it’s level.
5. Apply Adhesive
Apply outdoor adhesive to the back of the doorbell and press it onto the bracket or strip firmly.
6. Allow Adhesive to Set
Let the adhesive cure as per the instructions before testing the doorbell.
7. Test and Adjust
Check the doorbell’s attachment and angle, adjusting if needed for the optimal view.
8. Setup and Maintenance
Follow the manufacturer’s instructions to set up your doorbell. Regularly clean the lens and ensure its secure attachment.
Finally
By following these steps, you’ll have your Blink Doorbell securely mounted on brick without any drilling. Enjoy the convenience and security of your new installation.
How to install security cameras under eaves?
- Gather Tools and Materials:
- Security cameras
- Mounting brackets
- Screws
- Screwdriver
- Power drill
- Extension cables (if needed)
- Power source (battery or electrical)
-
Choose Camera Locations:
- Select spots under eaves covering entrances and vulnerable areas.
-
Plan Mounting Heights:
- Position cameras at optimal height for visibility and security.
-
Attach Mounting Brackets:
- Securely fasten brackets to eaves using screws.
-
Mount the Cameras:
- Affix cameras onto brackets according to the manufacturer’s instructions.
-
Cable Management:
- Neatly route cables along eaves, using clips for secure placement.
-
Power Connection:
- Connect cameras to a power source (outlet or battery), ensuring secure connections.
-
Adjust Camera Angles:
- Fine-tune angles for effective coverage using live feed.
-
Test and Monitor:
- Test cameras for clear footage and proper functionality.
- Set up remote monitoring if available.
-
Regular Maintenance:
- Periodically check cameras for debris or obstructions.
- Clean lenses for optimal visibility.
Finally
-
- Installing cameras under eaves enhances property surveillance.
- Strategic placement offers improved security and peace of mind.